bike maintenance
This is when you should wish I had a video camera. If there was an America’s Funniest Home videos for YouTube, I’d certainly have won with my pedal clipping antics yesterday.

Here’s what not to do:
1. Do not proceed outside if you have not yet mastered the pedals indoors. Do not pass go. Do not collect $200.
2. Do not think ripping your knee & ankle joints apart to get your shoe off the pedal is normal.
3. Do not get stuck in your pedals when there’s no one to rescue you.
And above all else:
4. Never, ever, ever trust the instructions.
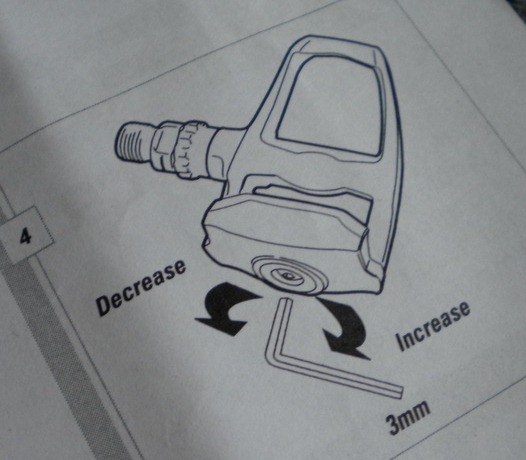
See, my mistake was trusting the directions. They said they pedals came automatically set at the lowest tension (read: easy to get out of). Did I think to double check this little statement? Oh no.

After almost dislocating most of the joints in my lower half, I decided to double check. They were at the max setting.
Oops.
Once that was taken care of it was smooth sailing. I mastered them indoors, and even bumped the tension back up. Then I hit the grass. I perhaps had 2 minor tumbles, but I graduated to riding in the street without catastrophe. (Knock on wood.)
So don’t be scared of the pedals. 🙂
Here’s how to use them:
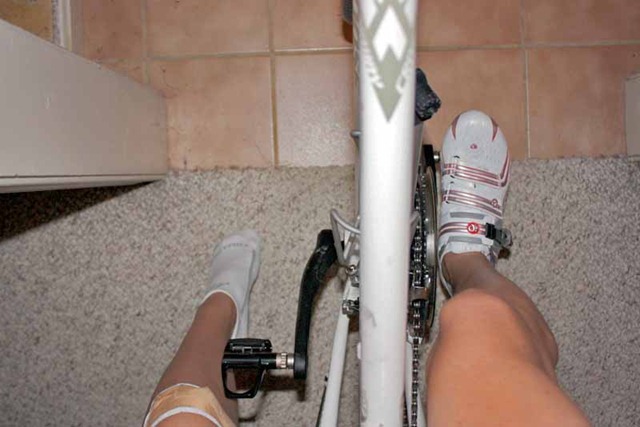
To clip in: point your foot downward, toe first. Catch the front of the cleat on the pedal. Stomp Press your heel down to lock the cleat in. Easy peasy.
To get out: Twist your heel out (away from the bike) to unclip. You can adjust the setting on your pedal to make this tighter or looser (aka harder or easier). Go with easier. Trust me.

Tips:
Practice on a trainer, in a doorway, or with someone holding the bike still.
Graduate to grass. You’re going to fall. Grass hurts less than asphalt. Again, trust me.
Get cleat covers (if you have Look style pedals)
Since I don’t have much real life experience yet, for more practical tips see Savvy Julie’s post. The golden rule seems to be unclip early!
bike maintenance
While I’m waiting for my ‘road bike piggy bank’ to fill up, I’ve been making adjustments to my hybrid bike to make it more race friendly.
I’ve already changed the tires from knobby to smooth. Now it’s time to embrace clipless bike pedals & biking shoes.

Why? It increases the power & efficiency of each pedal stroke– you can not only push down, you can pull up on the pedals.
3 main perks about bike shoes:
1. Hard sole: you don’t lose power from a flexing shoe
2. Snug fit: so foot doesn’t slip-slide around
3. Attachment to pedals: let’s you use your hamstrings & pull up on pedals
To use bike shoes, you’ll need special pedals that let you clip in, called clipless bike pedals.
Let’s clear up this misnomer: yes, you clip in to clipless pedals. Don’t ask, I didn’t make the rules. (It means as opposed to toe cages you can slide your sneakers in to.)

Changing the pedals is easy:
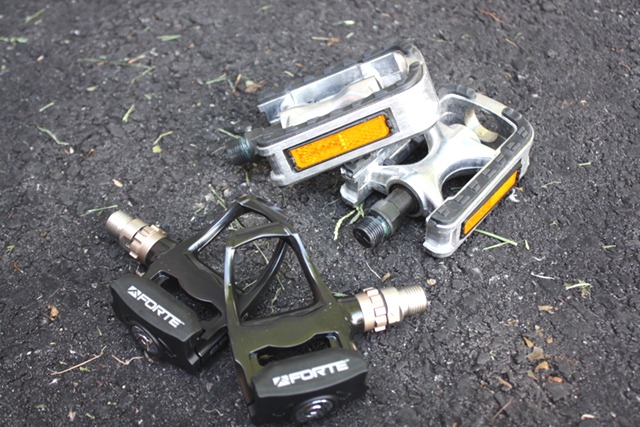
1. Choose your bike pedal.
There are 2 styles of clipless bike pedals: “SPD” & “Look” (brands, but that’s how you’ll probably seem them.)
The kind of pedal you need depends on the bike shoe you have (or want). It’s easy to tell which shoes need which pedals —> turn the shoe over:
– If there are 3 holes in a triangle, you need Look pedals
– If there are 2 oblong holes, you need SPD pedals
– If there are both, you’re in luck- you can use either kind of clipless pedal

If you don’t already have biking shoes, pedal choice comes down to personal preference. Mountain bikers tend to use SPD pedals, because they get off the bike a lot and the SPD cleats can be recessed. (More on cleats later.) Road bikers tend to use Look pedals, but more & more are using SPD. So it’s up to you.
When I got my pedals (on sale a looong time ago), I chose SPD because they tend to be double-sided–meaning you can clip into either side, making it a bit easier to learn.
However. In July, I ordered tri specific bike shoes that never came. (Tri-bike shoes the same, but tend to have one big Velcro strap & a loop at the heel to aid in quick transitions. Plus you can wear them without socks.) Note: the ones I ordered used both SPD & Look cleats.
When the shoes weren’t on my doorstep when I got home from Chicago, I panicked. With a tri (still in denial) & a 24 hr bike ride coming up, I needed my shoes! Long story short- after many major fails, I found myself in the hands of a customer service god who managed to get an awesome pair of shoes on my mom’s doorstep free of charge. From now & forever, I will love Pearl Izumi.
I immediately tore into the box only to find the shoes were Look style only. No worries. One pedal exchange later and I was good to go.
Now back to how to change pedals:
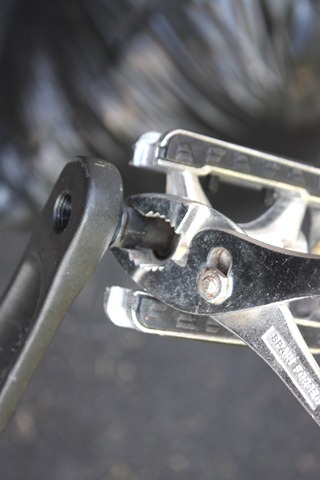
2. Remove old pedals.
Use a wrench to loosen the bolts. Throw righty-tighty, lefty-loosey out the window- the left pedal is reverse threaded, so righty-loosey it is.

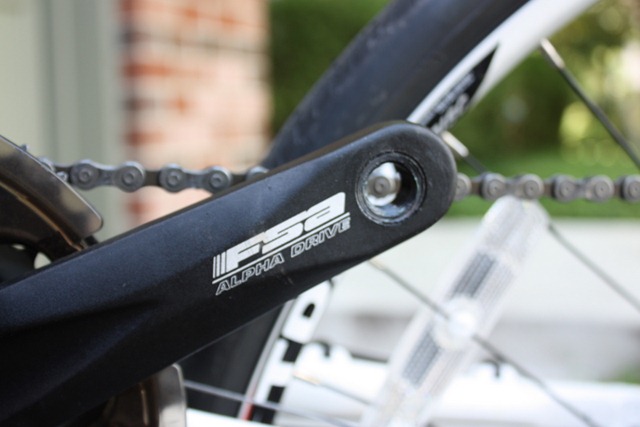
3. Put the new pedals on.
It’s like a screw. Tighten. Yes, it’s that easy.


4. Put cleats on shoes.

The final piece to the shoe-pedal puzzle: cleats– the actual piece that attaches to your shoe so there’s something for the pedal to clip on to. Cleats will come with your pedal, so you should have the right ones. (Look for Look, SPD for SPD- capiche?)

Follow the directions for your pedals, but basically just screw the cleats on to the shoe- you can fine-tune adjustments later. Note: attach tightly, or you’ll unscrew them when you try to unclip from the pedal. Don’t ask how I know.

5. Learn how to clip in & out.
More on that final (& key) step later, if when I master it. For now, you’ll find me practicing in the doorway so I don’t fall on my face- goodness knows I’m injured enough.

Whew. That was long. I promise it will take you far less time to change your pedals than it did to read this post.
Any experience with clipless pedals/bike shoes?